Sometimes it’s the little touches that can really elevate a client experience. One of my favorites is a custom login page. It will make your clients feel like you went the extra mile, and it won’t take you long to set up.
This tutorial will go over how to customize your WordPress login page, without needing a plugin.
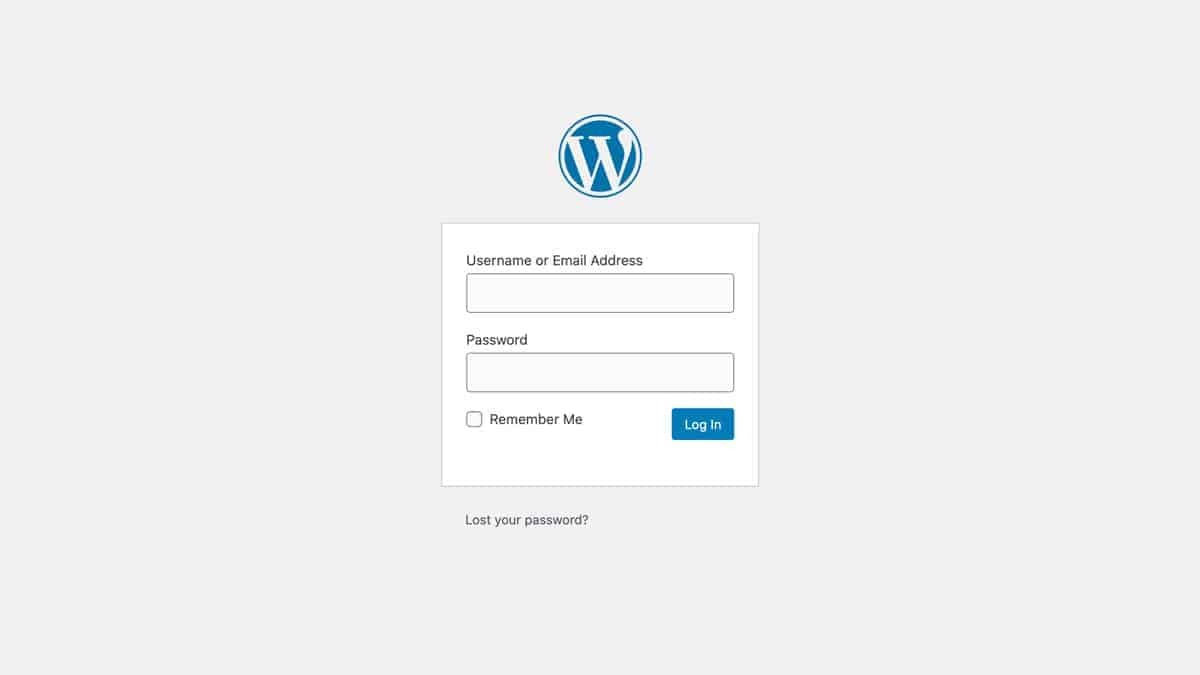
By default, your WordPress login page will look like this:
Once we’re done, you’ll have something that looks like this!
The directions below are for customizing it with a background image so you can decide what you want to use.

The first thing we’re going to do is get our files ready.
- Copy the code below into your favorite editor (mine’s Pulsar)
- Replace button_primary_color with the hex color that you want to use for your button (ex: #de3974)
- Replace button_hover_color with the color that you want to use for your button hover
- Replace insert_url_here with your background image URL
- Set your overlay color
- Replace insert_logo_url with your logo URL
- Save the file as custom-login-styles.css
- Add a folder to your child theme named login and add this file there
:root {
  --button: button_primary_color;
  --hover: button_hover_color;
}

body.login {
  background-image: url('insert_url_here'); /* if you don't want to use an image, you can remove everything from here except the background-color */
  background-repeat: no-repeat;
  background-attachment: fixed;
  background-position: center;
  background-blend-mode: overlay;
  background-color: rgba(51,51,51,.5); /* this color will overlay the image or be the background color if no image */
}

.login .wp-login-logo a {
  background-image: url('insert_logo_url'); /* add your logo image url here */
}

.login .wp-login-logo a {
  -webkit-background-size: 200px !important;
  background-size: 200px !important;
  background-position: center top;
  background-repeat: no-repeat;
  height: 100px !important;
  width: 200px !important;
  color: #444444;
  font-size: 20px;
  line-height: 1.3em;
  margin: 0 auto 25px;
  padding: 0;
  text-indent: -9999px;
  outline: 0;
  display: block;
}

.login form {
  background: #ffffff;
  font-weight: 400;
  margin-top: 20px;
  margin-left: 0;
  padding: 26px 24px 46px;
  overflow: hidden;
  border: none;
  box-shadow: 0 1px 3px rgba(0,0,0,0.12), 0 1px 2px rgba(0,0,0,0.24);
  transition: all 0.3s cubic-bezier(.25,.8,.25,1);
}

.login label {
  font-size: 12px;
  color: #444444;
}

.login input[type="text"]{
  background-color: #ffffff;
  border-color:#dddddd;
  -webkit-border-radius: 4px;
}

.login input[type="password"]{
  background-color: #ffffff;
  border-color:#dddddd;
  -webkit-border-radius: 4px;
}

.login .button-primary {
  min-width: 120px;
  float:right;
  background-color:var(--button) !important;
  background: -webkit-gradient(linear, left top, left bottom, from(var(--button)), to(var(--button)));
  background: -webkit-linear-gradient(top, var(--button), var(--button));
  background: -moz-linear-gradient(top, var(--button), var(--button));
  background: -ms-linear-gradient(top, var(--button), var(--button));
  background: -o-linear-gradient(top, var(--button), var(--button));
  background-image: -ms-linear-gradient(top, var(--button) 0%, var(--button) 100%);
  color: #ffffff;
  -webkit-border-radius: 4px;
  border: 1px solid var(--button);
}

.login .button-primary:hover {
  background-color:var(--hover) !important;
  background: -webkit-gradient(linear, left top, left bottom, from(var(--hover)), to(var(--hover) ));
  background: -webkit-linear-gradient(top, var(--hover), var(--hover) );
  background: -moz-linear-gradient(top, var(--hover), var(--hover) );
  background: -ms-linear-gradient(top, var(--hover), var(--hover) );
  background: -o-linear-gradient(top, var(--hover), var(--hover) );
  background-image: -ms-linear-gradient(top, var(--hover) 0%, var(--hover) 100%);
  color: #ffffff;
  -webkit-border-radius: 4px;
  border: 1px solid var(--hover);
}

.login .button-primary:active {
  background-color:var(--hover) !important;
  background: -webkit-gradient(linear, left top, left bottom, from(var(--hover)), to(var(--hover)));
  background: -webkit-linear-gradient(top, var(--hover), var(--hover));
  background: -moz-linear-gradient(top, var(--hover), var(--hover));
  background: -ms-linear-gradient(top, var(--hover), var(--hover));
  background: -o-linear-gradient(top, var(--hover), var(--hover));
  background-image: -ms-linear-gradient(top, var(--hover) 0%, var(--hover) 100%);
  color: #ffffff;
  -webkit-border-radius: 4px;
  border: 1px solid var(--hover);
}

.wp-core-ui .button-primary {
  background: var(--button);
  border-color: var(--button) var(--button) var(--button);
  -webkit-box-shadow: 0 1px 0 var(--button);
  box-shadow: 0 1px 0 var(--button);
  color: #ffffff;
  text-decoration: none;
  text-shadow: 0 -1px 1px var(--button), 1px 0 1px var(--button), 0 1px 1px var(--button), -1px 0 1px var(--button);
}

.wp-core-ui .button-primary:hover {
  background: var(--hover);
  border-color: var(--hover) var(--hover) var(--hover);
  -webkit-box-shadow: 0 1px 0 var(--hover);
  box-shadow: 0 1px 0 var(--hover);
  color: #ffffff;
  text-decoration: none;
  text-shadow: 0 -1px 1px var(--hover), 1px 0 1px var(--hover), 0 1px 1px var(--hover), -1px 0 1px var(--hover);
}

.wp-core-ui .button-primary:active {
  background: var(--hover);
  border-color: var(--hover) var(--hover) var(--hover);
  -webkit-box-shadow: 0 1px 0 var(--hover);
  box-shadow: 0 1px 0 var(--hover);
  color: #ffffff;
  text-decoration: none;
  text-shadow: 0 -1px 1px var(--hover), 1px 0 1px var(--hover), 0 1px 1px var(--hover), -1px 0 1px var(--hover);
}

p#nav {
  display: none;
}

p#backtoblog {
  display: none;
}

a:focus {
  color: #124964;
  -webkit-box-shadow: none !important;
  box-shadow: none !important;
}
Now that the style sheet is ready, we’re ready to call it into our child theme.
- Copy the code below and paste it into your functions.php file
- Replace SITE NAME with your site’s name
- Click Update file
// Custom Login
function my_custom_login() {
  echo '<link rel="stylesheet" type="text/css" href="' . get_bloginfo('stylesheet_directory') . '/login/custom-login-styles.css" />';
}
add_action('login_head', 'my_custom_login');

function my_login_logo_url() {
  return get_bloginfo( 'url' );
}
add_filter( 'login_headerurl', 'my_login_logo_url' );

function my_login_logo_url_title() {
  return 'SITE NAME';
}
add_filter( 'login_headertext', 'my_login_logo_url_title' );

function login_error_override()
{
  return 'Incorrect login details.';
}
add_filter('login_errors', 'login_error_override');

function my_login_head() {
  remove_action('login_head', 'wp_shake_js', 12);
}
add_action('login_head', 'my_login_head');

function login_checked_remember_me() {
add_filter( 'login_footer', 'rememberme_checked' );
}
add_action( 'init', 'login_checked_remember_me' );

function rememberme_checked() {
  echo "<script>document.getElementById('rememberme').checked = true;</script>";
}
And that’s it, you now have a custom WordPress login page! It’s such an easy way to make your site feel more custom.
Try it out and let me know what you think in the comments.